Before I moved to Florida, my mother gave me some silver items that would go to me in their will. She wanted us kids to have a few of these things now to start enjoying. That part bothers me, no one likes to think about their parents getting older, but it is a fact so I took them. One of the items came in an old box. I'm not sure how old the box is but it's been around my whole life and I'm 50. It's old.
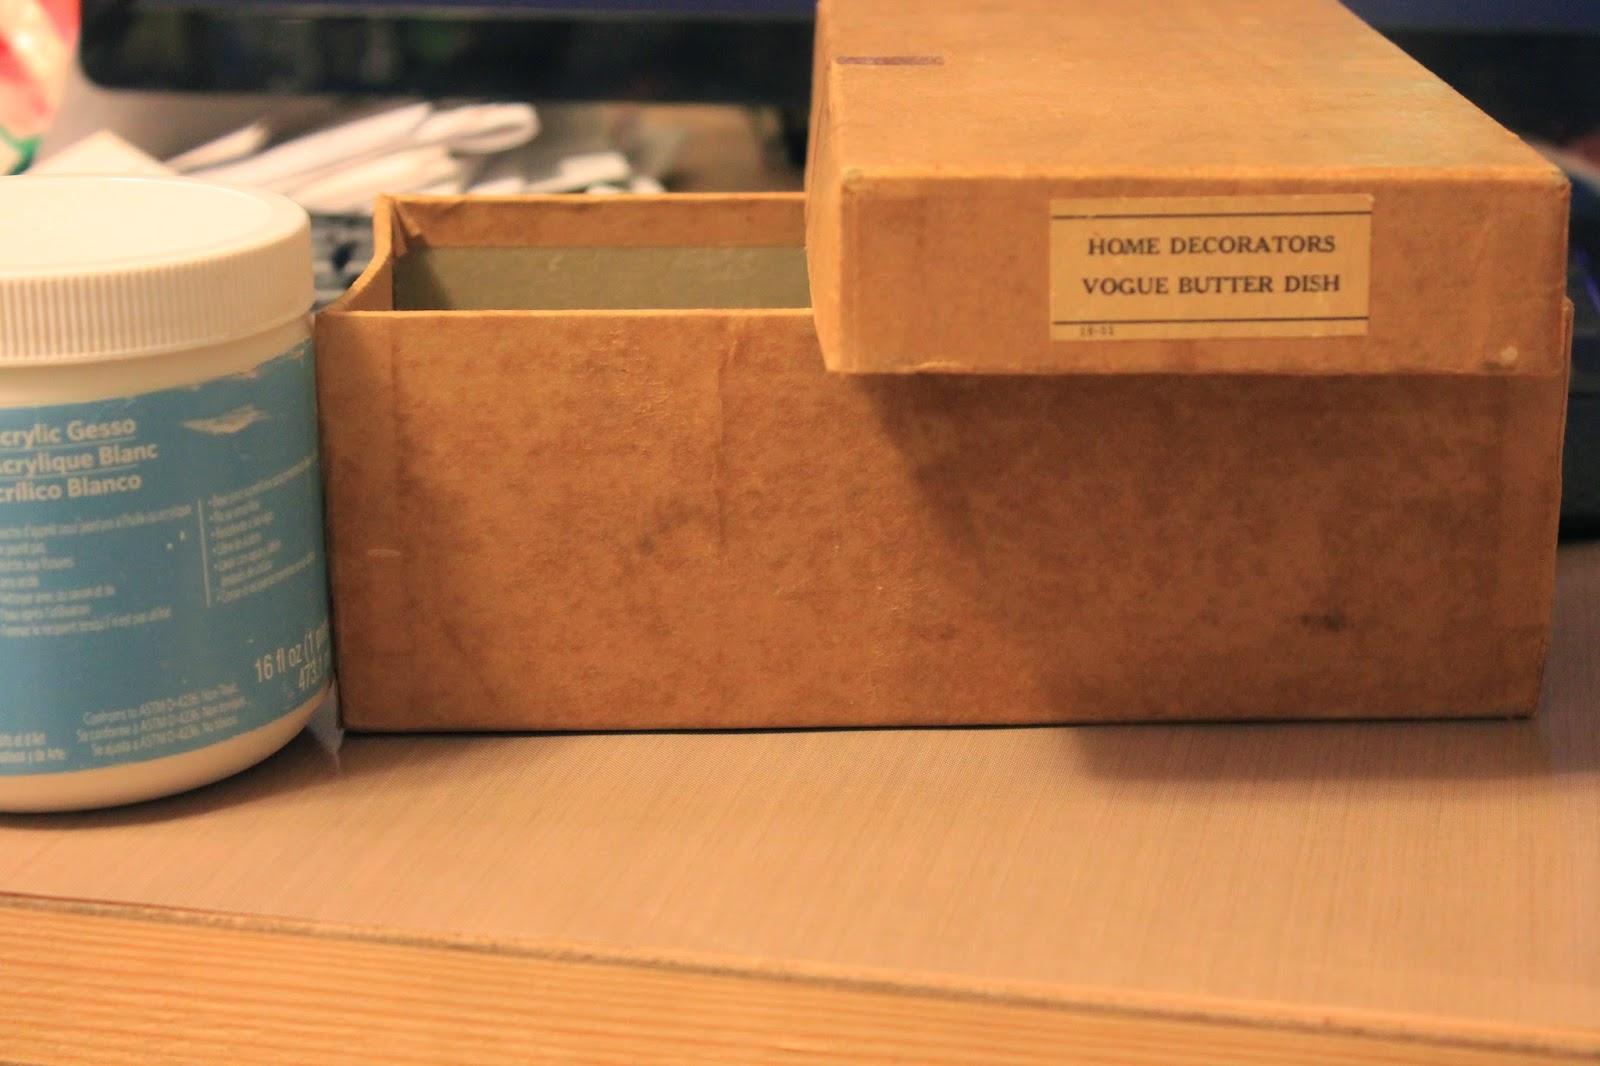
I took the box and gessoed it up. Then I used some gel medium, lavender acrylic paint, and pearlized medium to give it color. I wanted the fact that it was old to show through some so I then sanded some of the edges and distress inked them with Dusty Concord. In the picture you can see the bottom of the box sanded but not inked and the top of the box is after inking.

I have some absolutely stunning 7.8" wide lace in my Gone Artsy Zibbet store in a lavender and mint pattern. I adore this lace. So I pulled some out to use on my box. Some times worrying about profits just isn't worth it LOL. So I glued the lace to the top of the box and wrapped more around the outside of the box, tucking it inside as well. I wasn't going to waste this stuff! This picture is actually after completion but it shows the inside.

So let the fun begin! Time to decorate! I took 4 bronze toned box feet from Miriam's Crafting Supplies, and "patinaed" them with mint acrylic paint just rubbed on with my fingers. I did the same to some purple beads I had on hand, 2 bronze toned star flowers and 3 metal leaves (a slightly darker green paint) also from Miriam's. Then I did it again to 2 silver toned star flowers but using a concord grape acrylic paint.
I decided to use the flowers upside down so I could give them a different look then you normally see when I use her flowers. I wanted more of a cup shape with bent and molded petals. After they were shaped I glued the purple tinted one inside the mint tinted one.
I have to tell you, the group I belong to on FB, Chic Craftique, is full of fun, talented and generous individuals. We are currently doing a Christmas in July theme and everyone was invited to list a few small items from their personal wish list. One of mine was mint embossing powder. I have looked all over the place for some and haven't been able to find any. I really didn't think it was one that could be fulfilled but it is small and on my wish list so I put it in the mix. Well yesterday I got a huge surprise from Michael Farrell. He's a wonderful crafter that has been great at participating in the group. Talk about jaw dropping stunned! I couldn't believe it when I saw the jar in the package. It was pearl mint and gorgeous! So of course I had to add some to my mint and purple project! So I pulled out my feather stamp, a tag, the concord grape ink, and the embossing items and went to town. I colored, I sprayed water, I ripped and then the glorious moment when the embossing was done and it was MINT!!!!! YAY! Oh I had to experiment more! MORE, MORE, MORE! I LOVE this stuff! So I took 2 small white roses and patted them into the embossing medium and dipped them in the powder. I heated them up and looked. Huh, not quite as stunning as I was hoping but still pretty! OK, I was maybe a little over enthusiastic but seriously, when you look for something for like 9 months and can't find it and then someone gifts it to you it's like dancing on a cloud.
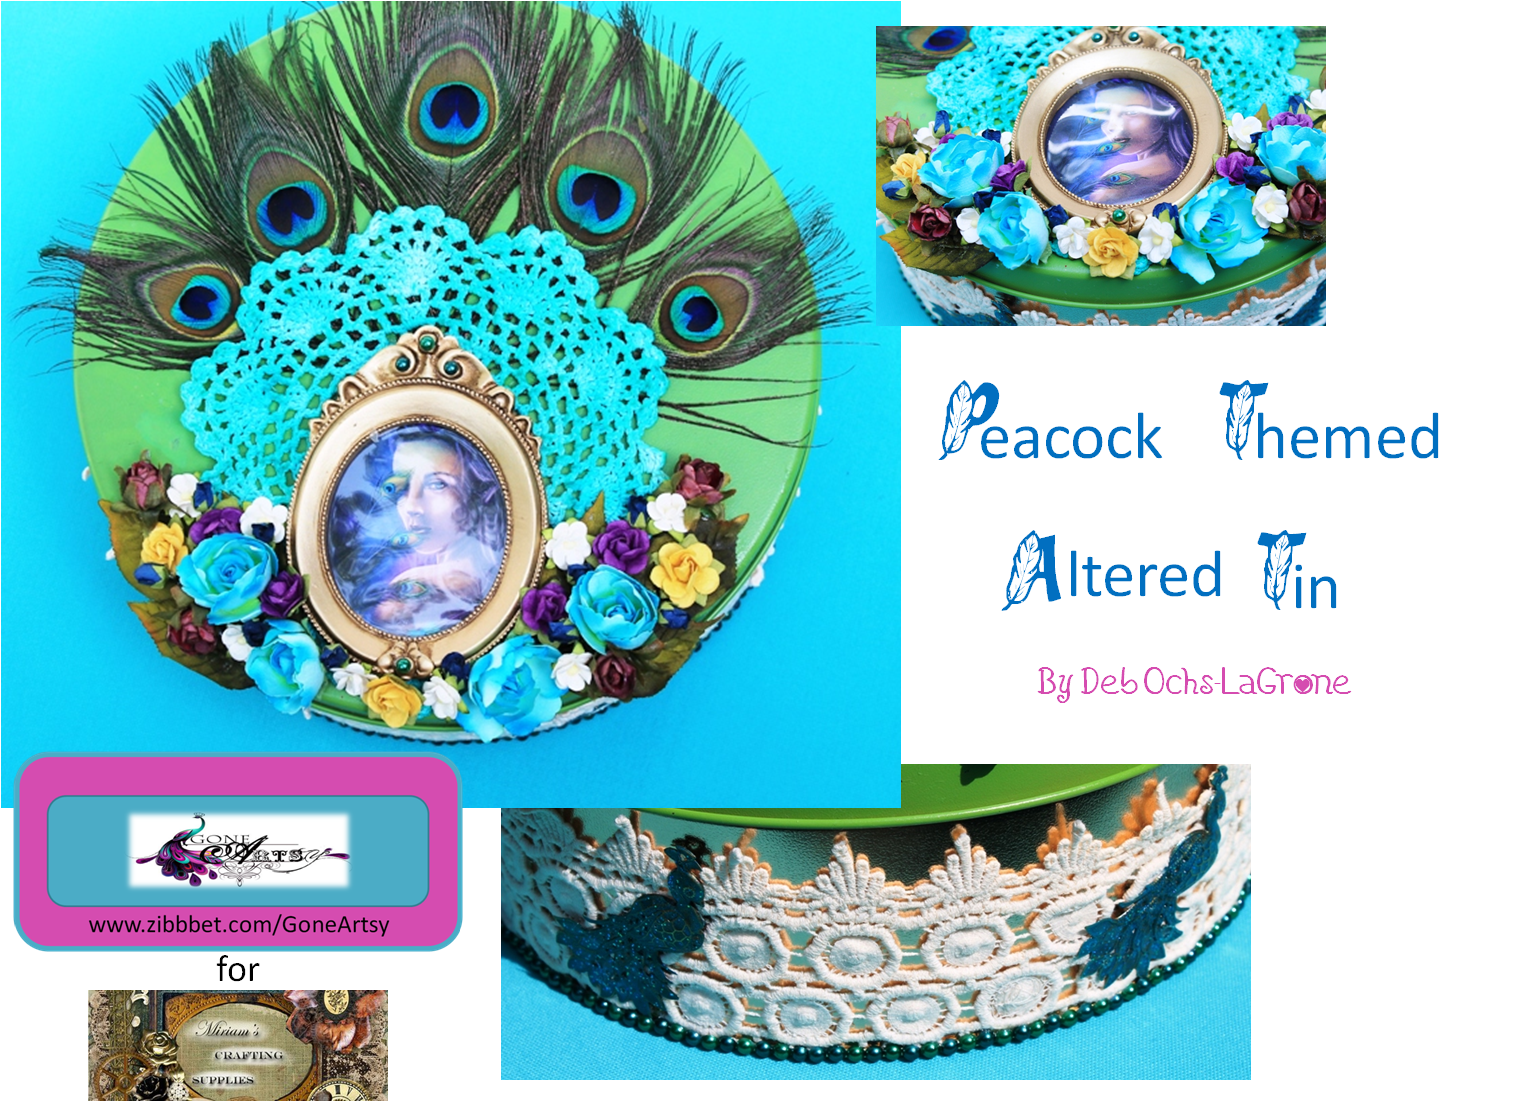
Ahem, back to business. I glued the embossed tag on the top of the box and then I pulled out my next treasure which was my original grand item for the box top { now I have 2 :o) }. The very first pin I ever made for a swap. You've seen the picture. It's the purple heart and wings with the feather on the top right of my page. I made myself an extra to keep as a memory of my first swap and had it tucked carefully in a padded box. I added that to the top then started layering the flowers, leaves, jewels,beads and the feet. Done and I love the result. My feathers are going to have a happy home!


Thanks for stopping by today!
Love ya,
~Deb~